New to me advice

Driller

Thank you for your guidance. I found the top two links, the bottom one I did not run a cross. Most of the pics are absent except for one, they guy with the pearl show car. I spent most of Sunday searching, reading and comparing domensions. I found a used cobra radiator for 230-50 on ebay. LMR and American Muscle don't have the 2003/4 cobra radiator. I did find some aftermarket ones, one is plastic the other is a performance upgraded one that seems bigger than the stock one. The new ones don't look like they come with the extra metal brakets to modify.......This led me to a custom or semi custom radiator, Northern seems like a popular quality option. $250 for a used radiator that may leak by the time I get it, makes me nervous....

What didn't you like about the one I linked to? Not challenging your judgment by any means but trying to tap into what problem you see that I dont.

I can get the same one without the filler cap for another $50-60. When I took some measurements there was a slim chance may actually be able to use it. If not I can put a heavy 25lb cap on and call it a day. I know a guy that can tig a fitting in the tank for the bleed line to the degas tank. The radiator would be stuffed all the way under the header panel and I can put the 4" inlet on even :)!

I would likely have to get a different fan but I figured I would see how mine fit up first.
 
What didn't you like about the one I linked to? Not challenging your judgment by any means but trying to tap into what problem you see that I dont.

I don't like the filler neck where it is not needed, just something else to worry about. My second choice would be to tig weld it shut and tig weld a bleed line on it.

I've heard good things about the Mishimoto radiator from other forums.
 
I hear you on the one more thing to go wrong! As of the SC and all the fixings isn't enough!

They have another model that doesn't have any of the fittings in and is basically a blank template. You have to cut and weld the fittings in. Those are another $50-60. I think I can actually use the the filler neck. It is hard to tell without it in hand but it will be dam close. I have no issue with the degas setup but I do appreciate the older technology sometimes...

I thought I ran across some threads where they were converting back to the traditional radiators and deleting the degas and switching to an over flow. Maybe it was cobras ? I have gone through so many threads I have a tough time keeping them all straight sometimes...

I have to wait till pay day(3 more days) before I can do anything anyway. Have plenty to do till then.

I did get the rest of my On3 cooling stuff today!

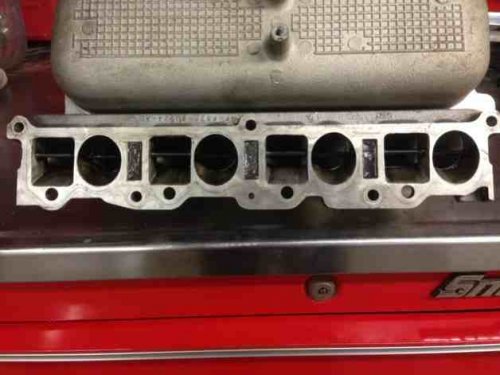
Not much going to happen during the week, between work, grand kids and so on not much gets done. Still have to clean the intake runners :(
 
Finally had time to work on it today.
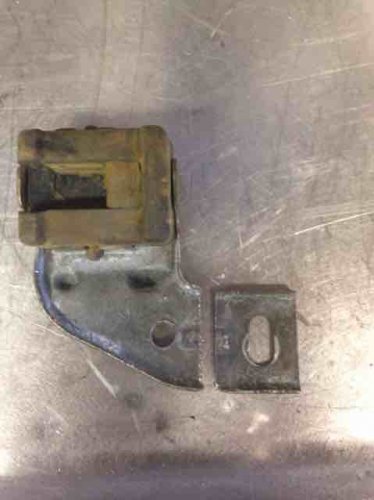
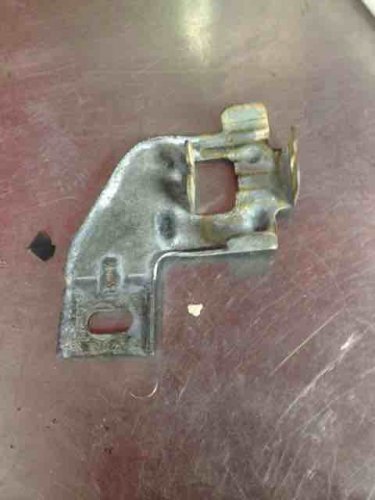
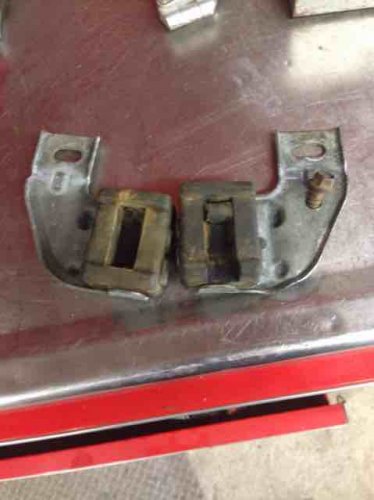
Modified the condenser mounting brackets.

Bent them straight.
Cut a chunk of rubber out or the back and glued it in the front of the mount. This allowed the condenser to move the the front to the max.
Drilled a new mounting hole in the mounting bracket and the bottom of the header panel.
I have a right angle drill but the this worked a little better to ensure not hitting anything.
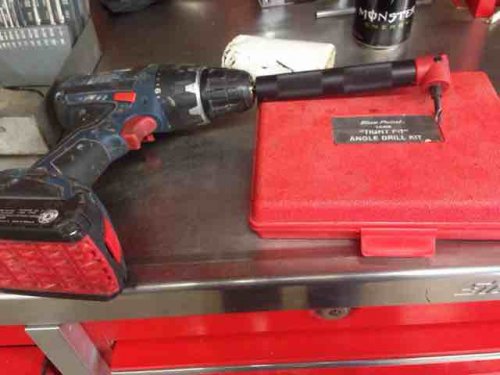
ImageUploadedByTapatalk1452463832.517416.jpg
At this point the only way to move it any more forward would be to cut the header panel or put it in front of the header panel.
I cut the extra material off of the bracket so it doesn't hit the radiator, potentially.
Now the radiator tucks just under the upper level of the header panel(No pic)
I remounted the radiator and still not quite enough to get the inlet onto the SC.
I am going to try and trim the fan shroud to see if I can get enough room. I think if I used a GT fan it would be ok but it seems that those are not enough at times in the extreme of summer with the AC on our cars.
If I can't get the OE shroud to fit I am going to abandon this setup and go to a 16x28 dual pass radiator with driver side fittings and slim fan shroud. This will clean up the cooling lines, fan, radiator clearance and inlet tube. Bad news is that it will lighten the wallet about $550 and I will have to add a trans cooler(ahead of schedule).
ImageUploadedByTapatalk1452463101.649826.jpg
ImageUploadedByTapatalk1452463122.116135.jpg
ImageUploadedByTapatalk1452463137.065503.jpg

ImageUploadedByTapatalk1452463101.649826.jpg


ImageUploadedByTapatalk1452463122.116135.jpg


ImageUploadedByTapatalk1452463137.065503.jpg


ImageUploadedByTapatalk1452463832.517416.jpg


ImageUploadedByTapatalk1452464253.768158.jpg
 
Should I start a new thread with all of this stuff? I have 3 pages of "noise" leading up to the real work :)
 
Made some progress this evening.
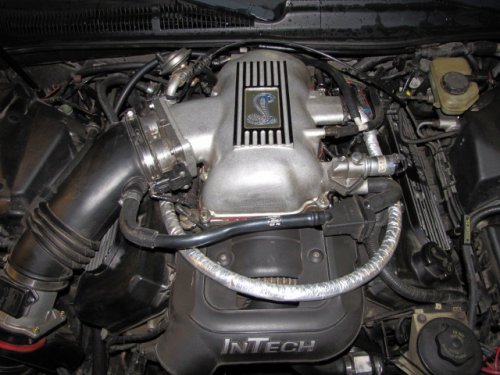
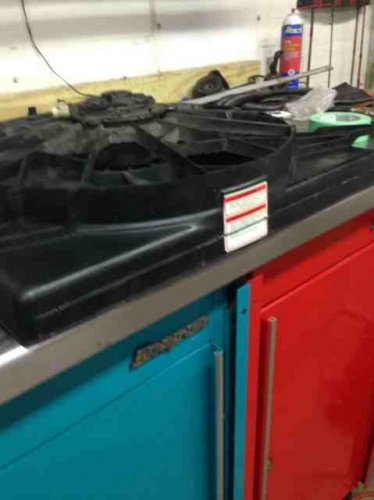
Fan shroud is trimmed, about 3/4" of an inch. I had maybe another 1/4" I could have taken. I used a piece of flat stock as a guide and scored with a razor knife. Finished it off with my air saw.
ImageUploadedByTapatalk1452923650.520076.jpg

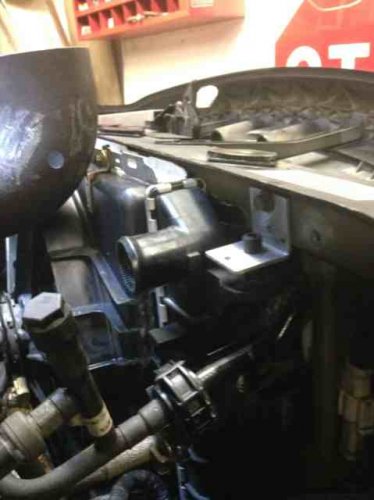
Made radiator brackets and it is mounted and made some brackets for the fan.
ImageUploadedByTapatalk1452923734.742603.jpg

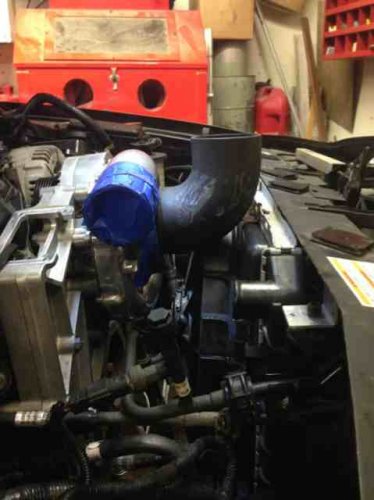
I have a lot more room than what I had a week ago but not quite enough for the inlet. I am going to order a silicone elbow and trim the fan from there.
ImageUploadedByTapatalk1452923747.784272.jpg

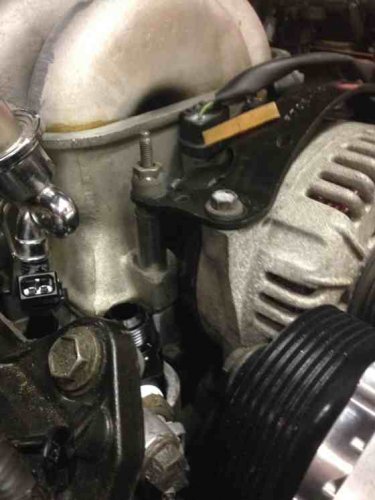
I had to trim up my IMRCs to get the On3 coolant fittings to fit.
ImageUploadedByTapatalk1452923935.702351.jpg

I had to trim the mounting tabs as well.
ImageUploadedByTapatalk1452923963.517461.jpg

In the morning off to the store to get bolts for the coolant fittings mounting tabs. They sent me some in the kit but they are too small in diameter. In the head cooling mod kit they give you heater hose but the coolant crossover delete kit they give you AN fitting and braided hose. What is up with that?

I haven't done AN fittings since the 90's. I am sad that some things don't change, they still suck.......

With any luck I will have the intake on and on to the next problem by the end of the day tomorrow. IMRCs are all ported up and ready to go.
ImageUploadedByTapatalk1452924244.626906.jpg

I think I am going to stick with suck through MAF for the moment. Anyone have any good pics of their install? I don't want to cut up any more than I have too.
ImageUploadedByTapatalk1452924526.723989.jpg

ImageUploadedByTapatalk1452923650.520076.jpg


ImageUploadedByTapatalk1452923734.742603.jpg


ImageUploadedByTapatalk1452923747.784272.jpg


ImageUploadedByTapatalk1452923935.702351.jpg


ImageUploadedByTapatalk1452923963.517461.jpg


ImageUploadedByTapatalk1452924244.626906.jpg


ImageUploadedByTapatalk1452924526.723989.jpg
 
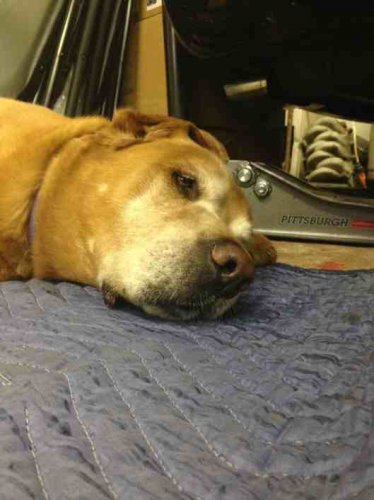
Forgot... Have to give credit to my helper. As long as I can keep him off the sauce he comes in pretty handy..

ImageUploadedByTapatalk1452925118.832428.jpg

ImageUploadedByTapatalk1452925118.832428.jpg
 
I missed the memo. I put the intake on backwards. But didn't realize it till I put the hat on.

I ground down the bosses on what is truely the back of the intake, cuz I had it on backwards. Then proceeded to make new spacers for the alternator bracket.

By the time I realized all of this is was time to jet to for a birthday party. Here are some pics of what not to do.. Sad part is I wasn't even drinkin :(

ImageUploadedByTapatalk1453045295.650880.jpg

ImageUploadedByTapatalk1453045336.039495.jpg

ImageUploadedByTapatalk1453045360.283100.jpg

ImageUploadedByTapatalk1453045397.125528.jpg

Out I go to the garage.. It is really cold out today single digits. The furnace is going to have to run for a while..

ImageUploadedByTapatalk1453045295.650880.jpg


ImageUploadedByTapatalk1453045336.039495.jpg


ImageUploadedByTapatalk1453045360.283100.jpg


ImageUploadedByTapatalk1453045397.125528.jpg
 
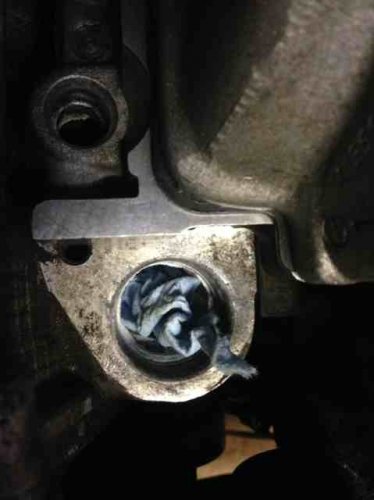
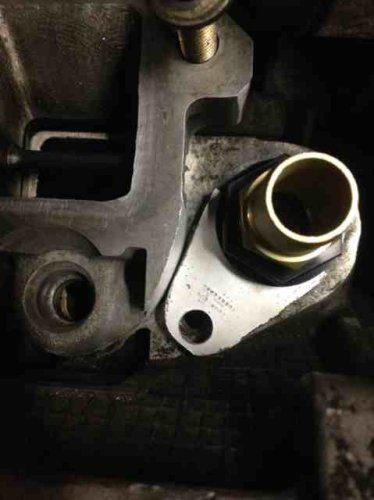
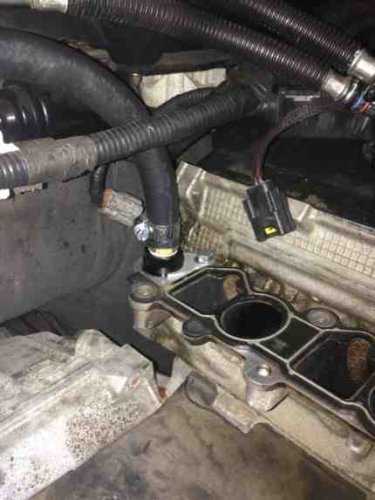
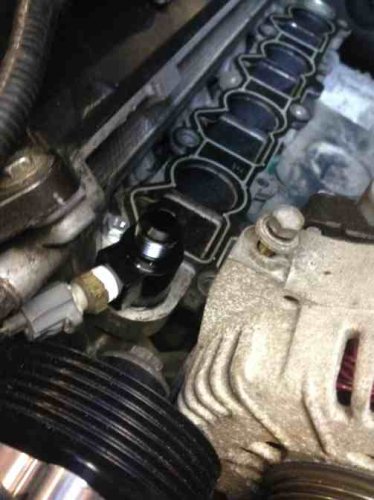
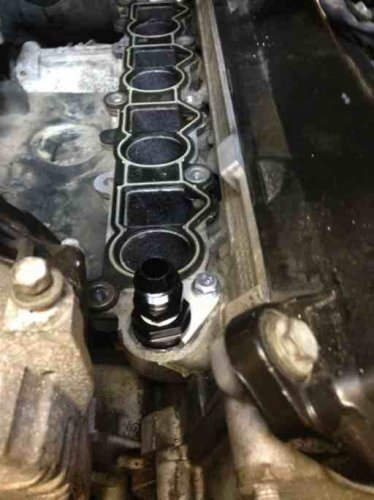
Some better pics of the ON3 cooling fittings.

You will have to grind the **** out of the IMRC plates. I don't care for the selection of AN fittings that came with the kit. I am going to call them an see if I can get some straights and another length of hose. I still don't get why they sent heater hose and a bunch of other crap in the install kit. I am going to figure out a way to reduce the flow on the driver head a little.

ImageUploadedByTapatalk1453045765.333761.jpg
ImageUploadedByTapatalk1453045793.903357.jpg
ImageUploadedByTapatalk1453045811.501434.jpg

ImageUploadedByTapatalk1453045765.333761.jpg


ImageUploadedByTapatalk1453045793.903357.jpg


ImageUploadedByTapatalk1453045811.501434.jpg
 
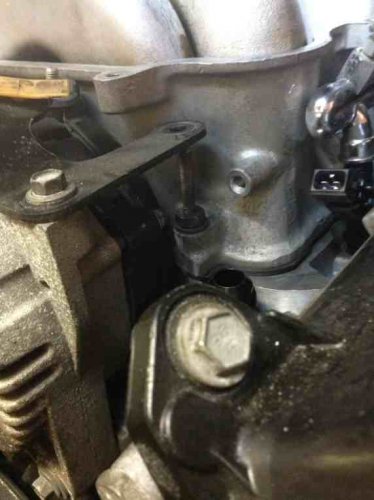
Missed another memo and oversight during mockup.

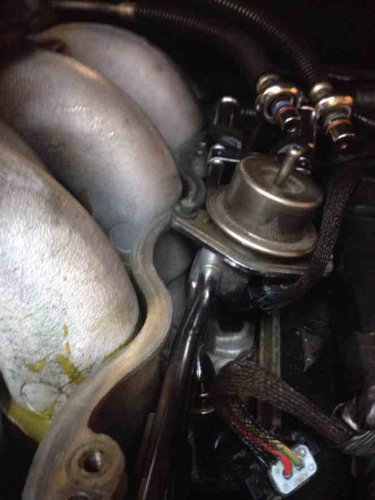
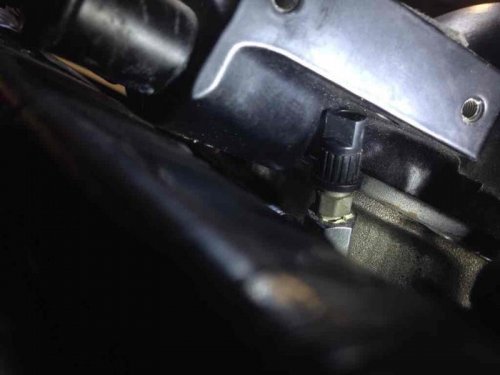
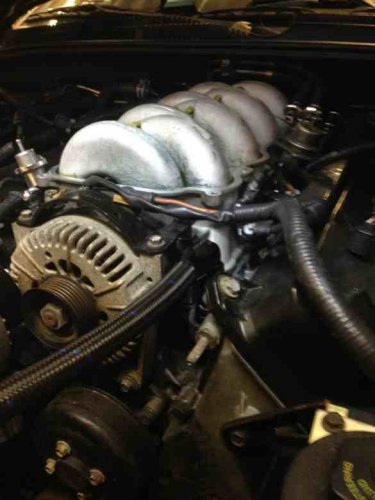
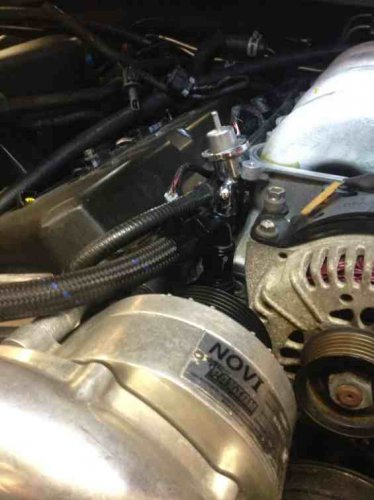
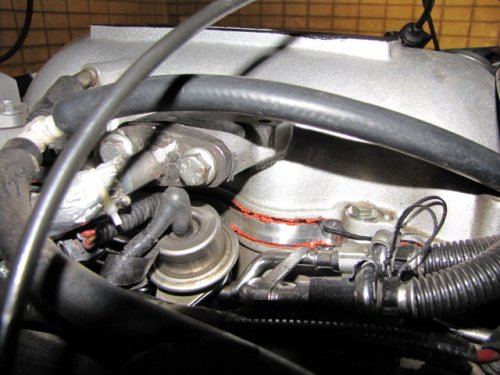
Driver side fuel pressure regular problem and fuel pressure test port interference.

Now what?

I think I can get a elbow and fix the test port issue.

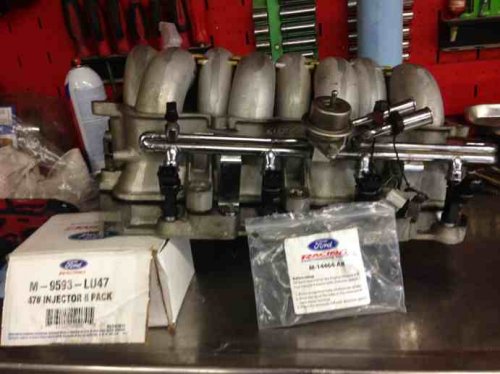
What genius at ford thought we needed two FPRs? I don't think I can bent it out of the way without binding the injectors or damaging them.

ImageUploadedByTapatalk1453051884.734453.jpg
ImageUploadedByTapatalk1453051897.747440.jpg

ImageUploadedByTapatalk1453051884.734453.jpg


ImageUploadedByTapatalk1453051897.747440.jpg
 
Calling it a day and time for a beer. Good thing I have to work tomorrow, this is driving be to drink...

Revised alternator spacer now that I have the intake on the right way.. Dumb ass.

View attachment 828474956

View attachment 828474957

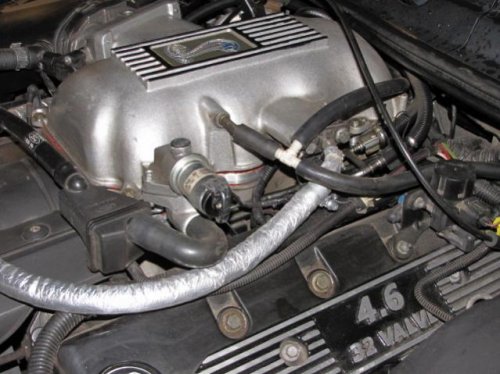
Some shots of the ON3 crossover delete kit and head cooling mod fittings. Note the ones with the 90 degree fittings. Is it just me or would it not be cleaner with straight ones coming over the top.

ImageUploadedByTapatalk1453075158.238974.jpg
ImageUploadedByTapatalk1453075183.377863.jpg
ImageUploadedByTapatalk1453075235.645149.jpg

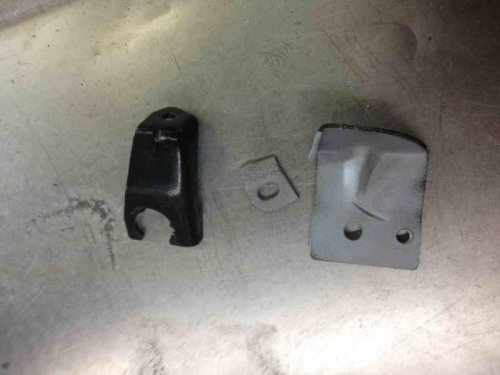
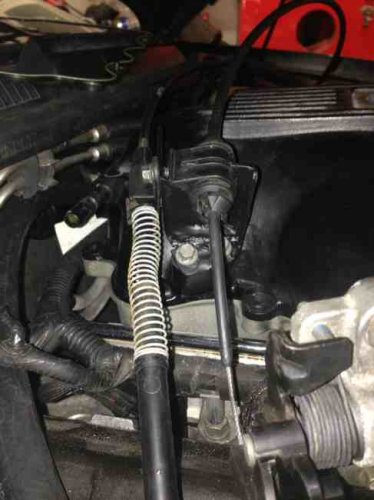
Throttle bracket. I cut it in half basically and then cut the tab off. I spent most of the afternoon on this. About an hour into it I had it almost perfect but wanted to get it the rest of the way and make it one piece instead of two. I welded it together and cut it apart so many times struggling with perfection that I managed to F it up. If I would have realized that the cruze cable had adjustment in it I could have saved a lot of time and frustration.
ImageUploadedByTapatalk1453075279.151128.jpg
ImageUploadedByTapatalk1453075524.576231.jpg
ImageUploadedByTapatalk1453075537.594858.jpg

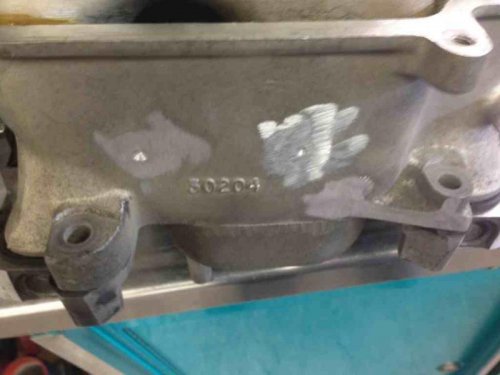
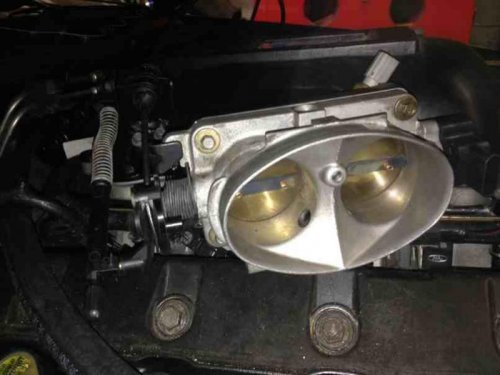
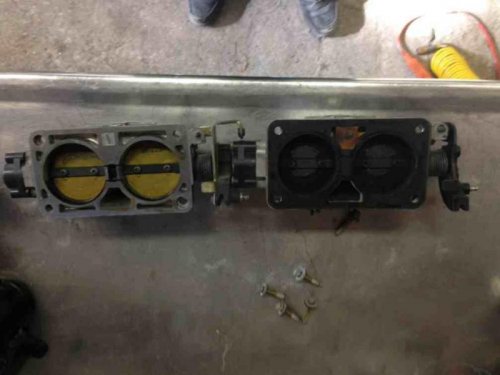
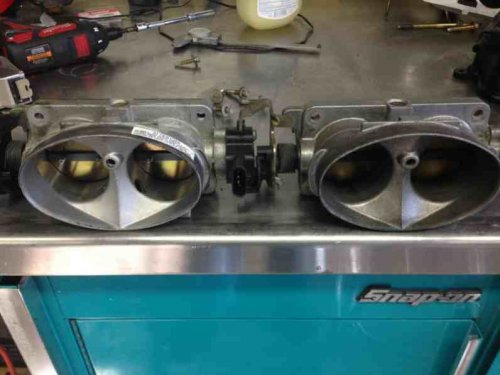
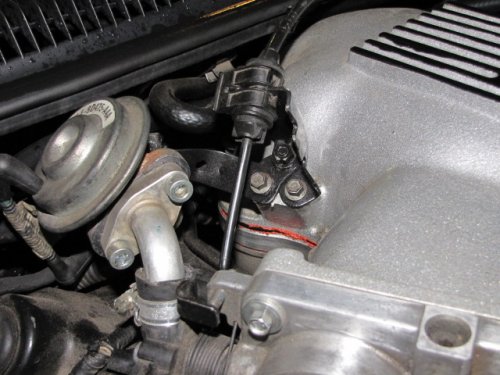
Difference between the two throttle bodies. The key to using our throttle body is using the Cobra throttle body gasket.
ImageUploadedByTapatalk1453075643.053066.jpg
ImageUploadedByTapatalk1453075685.455080.jpg

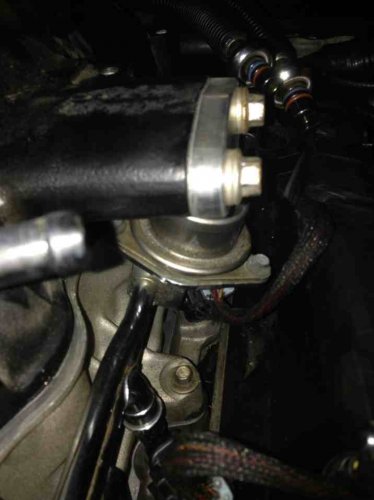
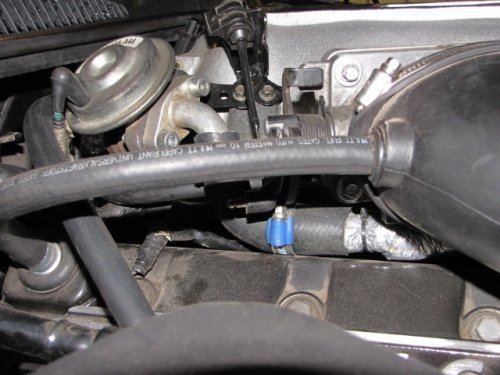
Has anyone trimmed the EGR boss off to allow for the FPR? I really don't want to have to cut into the fuel lines to use cobra rails.
ImageUploadedByTapatalk1453075847.924262.jpg

Help, oh please help... My wife says to take everything off and put it back to the way it was, it was fine the way it was. I told her that I am beyond the point of no return. You can imagine how it went from there.

ImageUploadedByTapatalk1453075158.238974.jpg


ImageUploadedByTapatalk1453075183.377863.jpg


ImageUploadedByTapatalk1453075235.645149.jpg


ImageUploadedByTapatalk1453075279.151128.jpg


ImageUploadedByTapatalk1453075524.576231.jpg


ImageUploadedByTapatalk1453075537.594858.jpg


ImageUploadedByTapatalk1453075643.053066.jpg


ImageUploadedByTapatalk1453075685.455080.jpg


ImageUploadedByTapatalk1453075847.924262.jpg
 
yeah i am pretty sure you would not be the first to grind off the egr to run the stock fuel rail.
 
Hello

This is early in there and copy here, if that`s help you, intake spacer lift upper manifold enought that original fuel rail works and EGR is original place too,
IAC vent wire must be sideway, not up because hood smash them and hood room is tight, cut piece of hood silencemat just above intake.

Finally I`ll place to Cobra intake my -98 MK VIII and use original fuelrail and EGR, that`s can do intake spacer !
Name: Lincci98 055.jpg Views: 155 Size: 55.1 KB
Name: Lincci98 057.JPG Views: 155 Size: 136.6 KBName: Lincci98 064.JPG Views: 156 Size: 132.5 KBName: Lincci98 067.JPG Views: 154 Size: 133.7 KB
hope this picture help !!!!
 
Thank you for the pics and suggestions! I didnt see the IAC problem coming. Looking at the pics reassures me that deleting the egr system makes life a bit easier during this process.

Where do you get the IAC plumbing from? I have looked all over the web and haven't found anything. I am going to guess it is another one of those right time right place things. What is inside the little black box? Anyone just run the hose to the inlet tubing?

Thanks again for the help..
 
I'm not sure where to begin... but first I have to ask - what fuel rails are you using to have two fuel pressure regulators?
 
They want 150 for the spacer.. maybe different fuel rails would be a better investment.

What fuel rails are you guys running? I found stock cobras for 200 plus. Saying cobra for parts is like saying boat... break out another thousand..

Anymore ideas?
 
I'm not sure where to begin... but first I have to ask - what fuel rails are you using to have two fuel pressure regulators?

I am using my stock 98 rails. I didn't realize till a bit later that one is a dampener. Never seen one with a vacuum line run to it.
 
Gaining so e ground, I have a set of cobra rails coming I found on SVT for $65.

I want to make "patch lines" to go from the factory fuel lines on the car to the cobra rails. I have found both males and the female return. I am having a tough time finding the female preassure side.

Any tips?

Back to the Google search bar for another drink...
 
I think I figured out the fuel line connections to the cobra rails. It looks like in the passenger side wheel well you can tap into the lines without cutting. The picture I found looks like they use dorman repair fittings from napa. What I couldn't tell is if they used plastic line or rubber with band style clamps. I suppose AN fittings would work too but those are a pain in the butt if you ask me and the fittings are bulky. Not to mention pricey and I have to order them and wait some more...

Anything else?

Sure would have been nice if someone would of told me sooner... Took me 4 hours to find a clue and source the fittings. I spend as much time trying to figure it out on the web as it does to do the work...
As I read threads from some time back there was a lot more interest in this stuff. Doesn't seem that way now days.
 

Members online

Back
Top