You are using an out of date browser. It may not display this or other websites correctly.
You should upgrade or use an alternative browser.
You should upgrade or use an alternative browser.
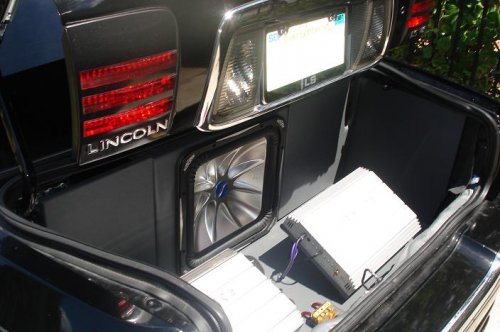
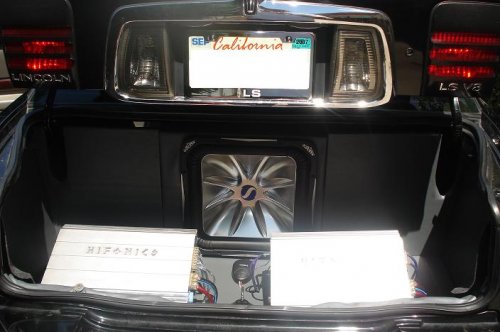
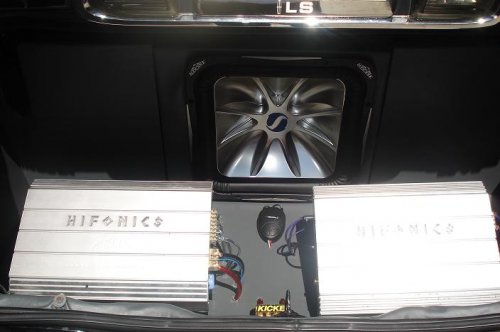
audio trunk setup done by me
- Thread starter rickztahone
- Start date
rmac694203
Dedicated LVC Member
Where does the beer go?
eastcoastLS
Dedicated LVC Member
nice, i like it. what is that black thing in between the amps...kinda looks like a computer mouse?
rickztahone
Dedicated LVC Member
i had some neon lights back there and that controlled the strobe but i took them out since they werent that bright. i'm going to put some other type of lights back there.
o3sonicbluexlt
Active LVC Member
it looks pretty good. the only thing that i would do is carpet the box, so it would match the rest of the trunk, but it looks like you put the same material throughout the trunk. i am looking to do something like that as well. do you have the dimensions of just the box? i personally would also mount the amps to the rest of the box. i need some trunk space for my travels.
LS_KiNG
Active LVC Member
DONT BUY ANY KITS..just a waste of money you can do it yourself for bout 10-15$
http://www.diynetwork.com/diy/ab_auto_body_work/article/0,2021,DIY_13675_3529386,00.html
http://www.diynetwork.com/diy/ab_auto_body_work/article/0,2021,DIY_13675_3529386,00.html
rickztahone
Dedicated LVC Member
yup i agree with ls king. i did it myself and it just cost me like 10 bucks. all u need an extra set of hands and some time. it's fairly straight-forward. try it, it's real simple
n8bachelor
Dedicated LVC Member
StincolnLincoln
Dedicated LVC Member
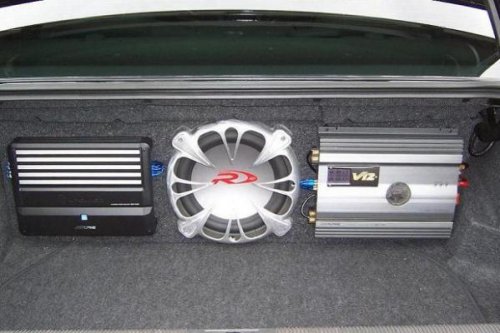
Nice set up man. I hope you dont need your trunk for anything though. I still put groceries in mine. And I can still access the spare if needed. Check it out below.
I like what you did to your tail lights. How much did that cost you? Did you have them tinted or painted?
View attachment 25592
hey what series alpine is that on the left is that the 650 or higher and man does his install look professional and he said its not professional by any means lol.. love the way he has it setup. giving me more ideas but i gotta at least have some trunk left over like you said.
nickandersonLS01
Dedicated LVC Member
I'll be doing something like that shortly, nice work. I also like those tail lights, I'll probably get bored and do that trunk mod, I seem to be in my trunk alot and I think it would be a nice mod.
n8bachelor: did you do that install yourself? very clean.
n8bachelor: did you do that install yourself? very clean.
n8bachelor
Dedicated LVC Member
hey what series alpine is that on the left is that the 650 or higher and man does his install look professional and he said its not professional by any means lol.. love the way he has it setup. giving me more ideas but i gotta at least have some trunk left over like you said.
I agree his install looks very professional, great job.
The amp on the left is the MRP-F450. It puts out about 75 watts rms x 4 channels. The V12 on the right is one I had in my last car. It pushes the sub (about 300 rms)
n8bachelor: did you do that install yourself? very clean.
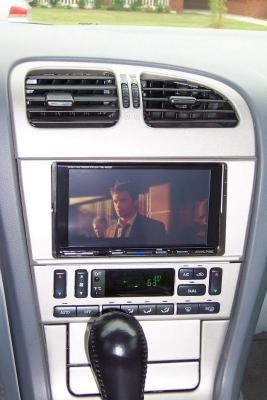
Unfortunately I do not have a garage or the necessary tools to do the install myself. I had everything installed in one day. The 6.5" type R's in the doors, the box was made to my specs and the amps and cap mounted as requested, and the double din was the finishing touch.
rmac694203
Dedicated LVC Member
Only 300 rms to that type R? I heard they respond better with more power. I have 2 type S 12's and have 300 to each and they sound good. Wanted the type R though, but got a great deal on the S...
rickztahone
Dedicated LVC Member
yeah i can get some night pics up but i had 2 take the neons out so there really wont be any light back there. and yeah i did the flip flop trunk myself. the tail lights were also done by me with a tail light tint spray. i just masked them off and started spraying (after taking them off the car of course). it was fairly easy and the cops don't give me any trouble because you can still see the red on the lights. i definitely can't reach my spare easily. that's one of the draw-backs but originally i had designed it so that i could but that 15 is just too big. so i opted to do this set-up which does take me like 15 minutes to disassemble. the setup took me and a friend about 6 hrs with a beer here and there, lol. i wish everything was more flush tho. if you notice there are two boards next to the sub. i would like to make that whole back wall flush but didn't think of it while doing it. thanks for the feedback. much appreciated
here are the night piks
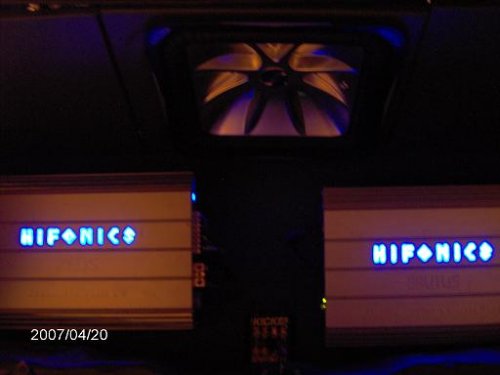
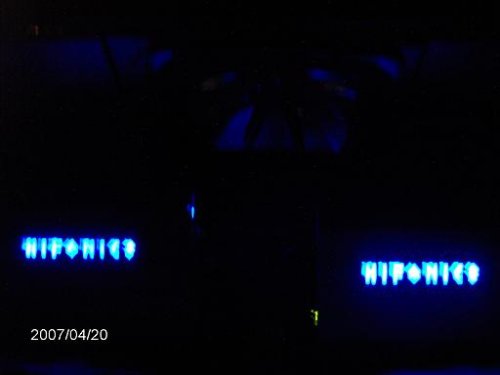


here are the night piks


StincolnLincoln
Dedicated LVC Member
man i love ur setup hey how about a video upload it to youtube i wanna see and hear what it sounds like
Frogman
Dedicated LVC Member
- Joined
- Jul 11, 2005
- Messages
- 6,914
- Reaction score
- 1
It's gonna sound like crap on youtube. Why? Because youtube downsamples audio to something like 24bit... or was it 16bit? Hell, now I don't remember... Either way, it saves bandwidth.
rickztahone
Dedicated LVC Member
yeah frogman is right. it would sound nasty because of the adjustment. there's nothing like hearing it first hand. it sounds really nice i think and after i did the setup there was an improvement in the bass. i do want to add another kicker but i would have to upgrade to newer ones because this one is discontinued unfortunately. it sucks that kicker only changes the apperance but not the quality so it forces you to buy the new one. anyway, i would upload it but it wouldn't sound good. maybe i can just upload a video just so you can see all the angles and such for those that want to do the setup. all it is is one main floor board. 2 side walls and 2 boards right next to the sub. all necessary holes were drilled and everything but the side walls were screwed down. like i said before, the spare access is not easy, actually it's pretty difficult and time consuming. thanks for the compliments guys. it's nice to have positive feedback on something that you planned out from scratch.

