
|
|
|
|
||||
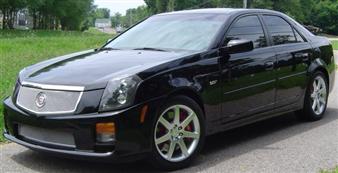
Cadillac CTS V
|
||||
|
||||
|
Installation time: Approximately two leisurely hours with one person.
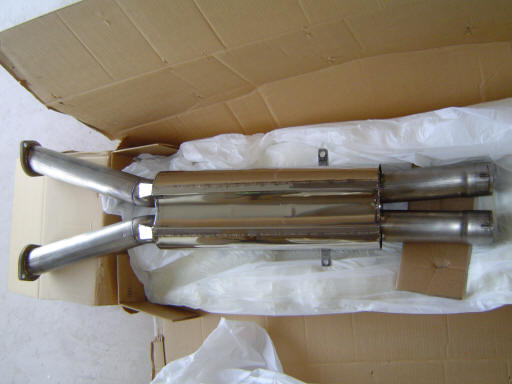
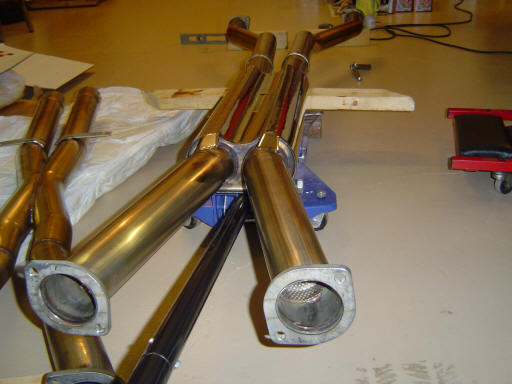
2. Unpack the resonator from the B&B box.
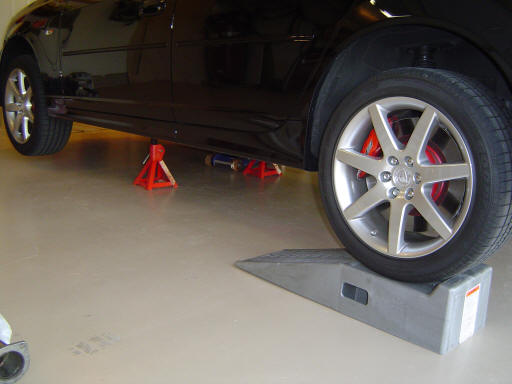
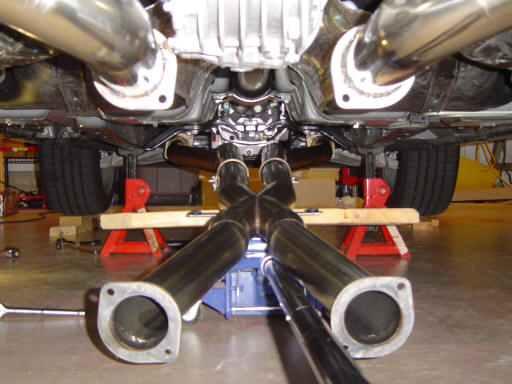
3. Support the rear of the V on Rhino ramps. Jack up the front and support the front of the V with jack stands (or another set of Rhino ramps).
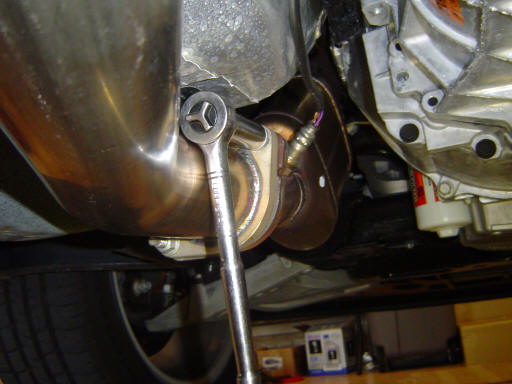
4. Loosen the four nuts most of the way at the two front flanges of the factory exhaust, do not remove the nuts yet.
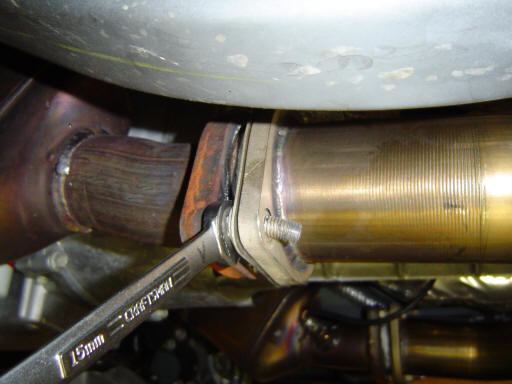
5. Lubricate the exhaust studs to prevent this from happening....Doh! =(
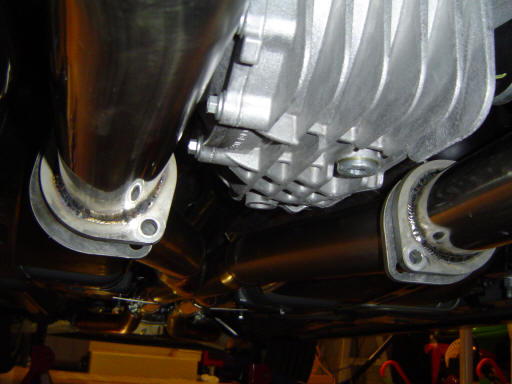
6. Remove the four bolts/nuts connecting the polished muffler pipes to the x-pipe.
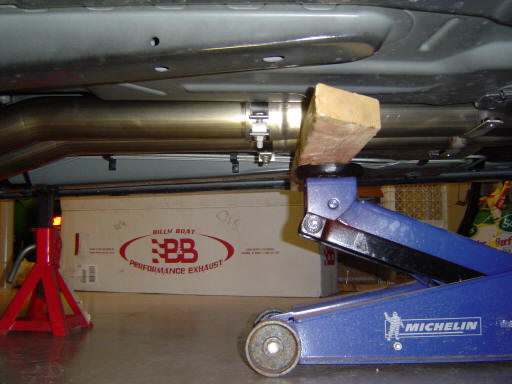
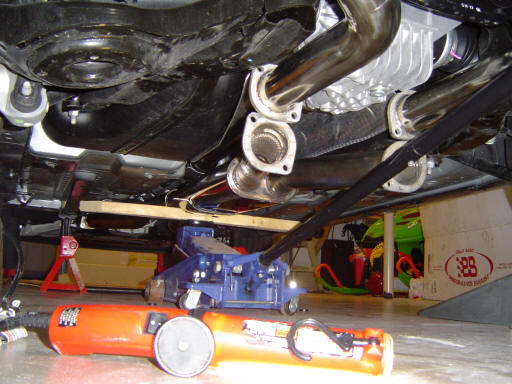
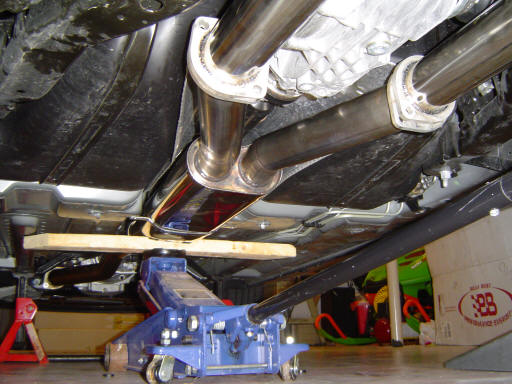
7. Place a 2x4 on the head of the floor jack, roll the jack under the rear of the car. Line up the 2x4 under the exhaust just behind the x-pipe slip joint clamps. Raise the 2x4 up until it just contacts the exhaust.
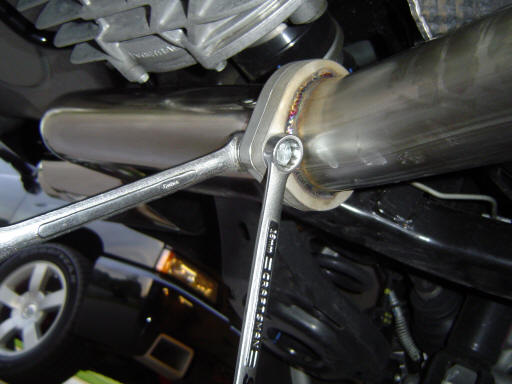
8. Remove the two center support bolts and spacers and set aside for reuse with the resonator.
9. Slowly lower the floor jack. After the jack has been lowered all the way, finish removing the four front exhaust flange nuts.
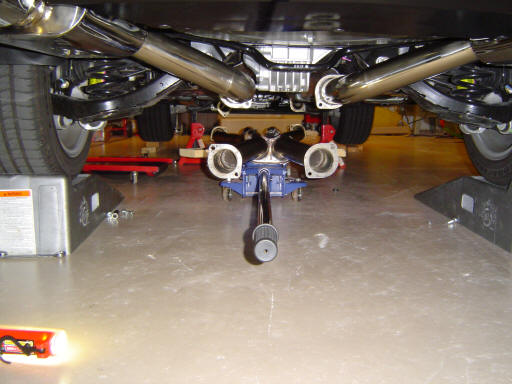
10. The x-pipe will be perfectly balanced and can easily be rolled out from under the car with the floor jack.
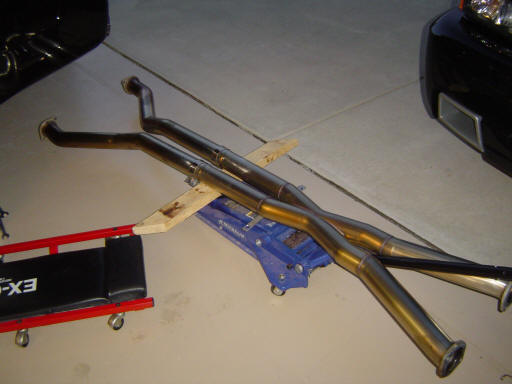
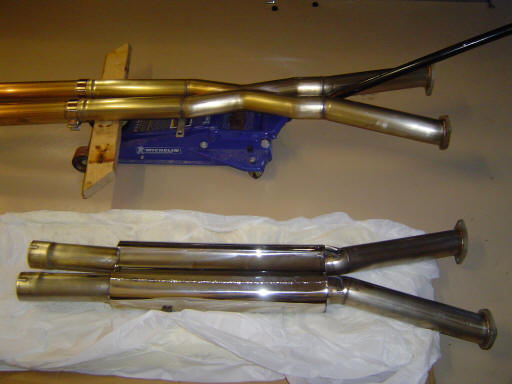
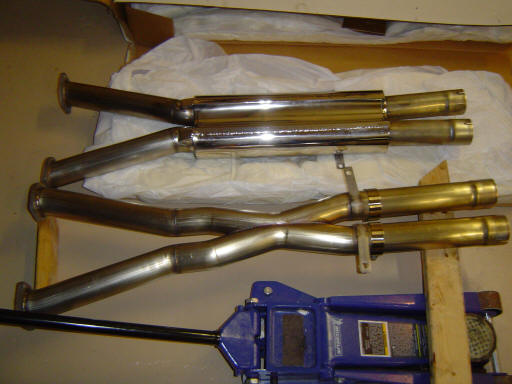
11. Compare the x-pipe to the resonator. Orientate the resonator such that the mounting tabs are properly located.
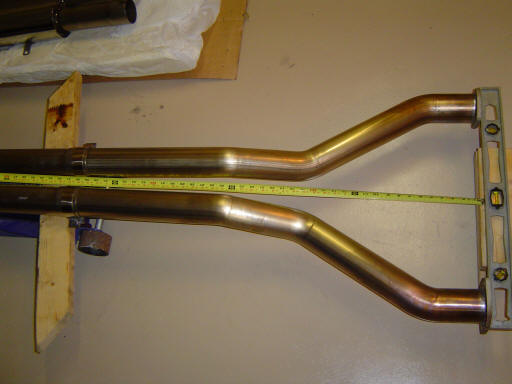
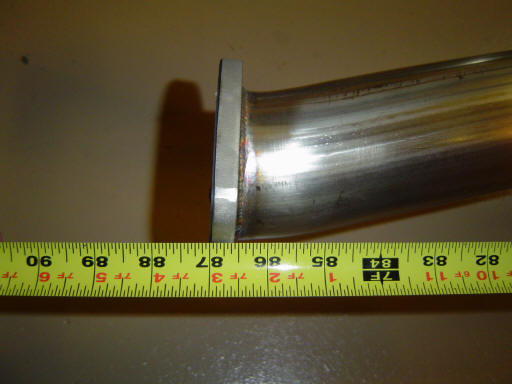
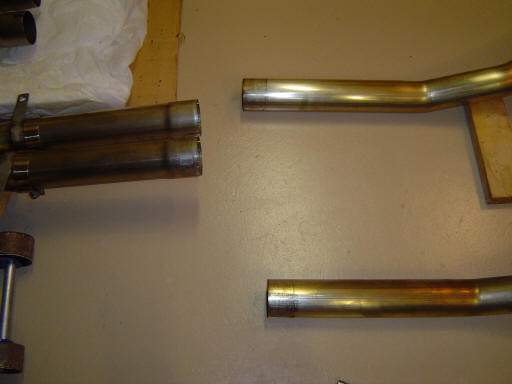
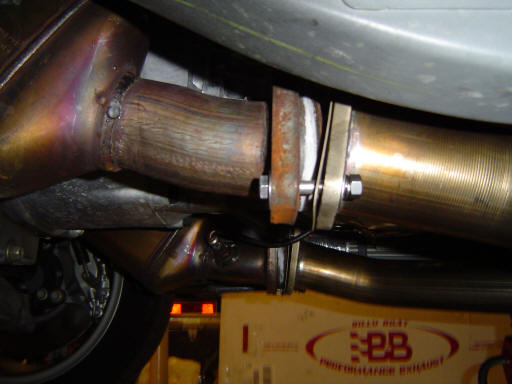
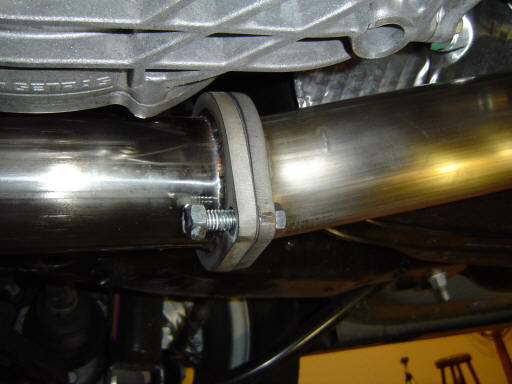
12. OPTIONAL - Measure the length of the assembled x-pipe. It should measure approximately 87" from the front header pipes to the rear of the x-pipe flanges.
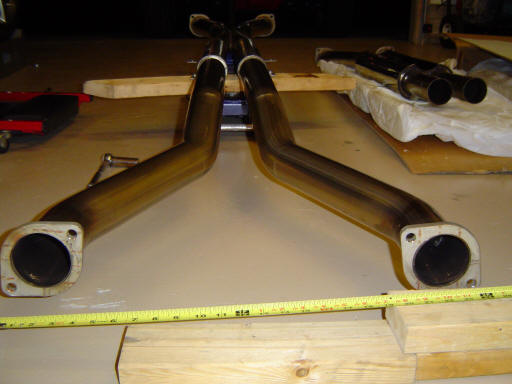
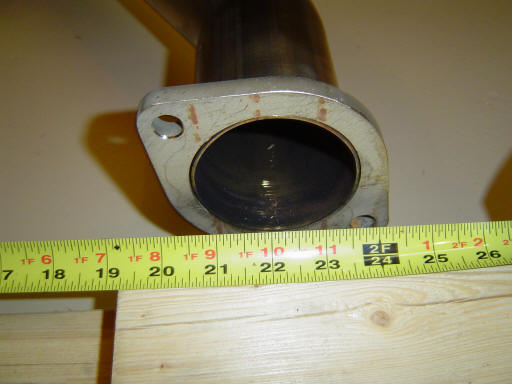
13. OPTIONAL - Measure the width of the header pipes while still clamped into the x-pipe.
14. They should be approximately 20" wide.
15. Loosen the x-pipe's two slip joint clamps.
16. Remove the front header pipes for reuse with the resonator.
17. Wipe down the x-pipe with WD-40 or equivalent to remove fingerprints and other contaminants for optimum long term storage.
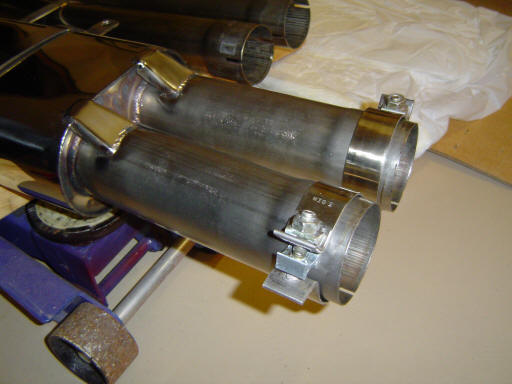
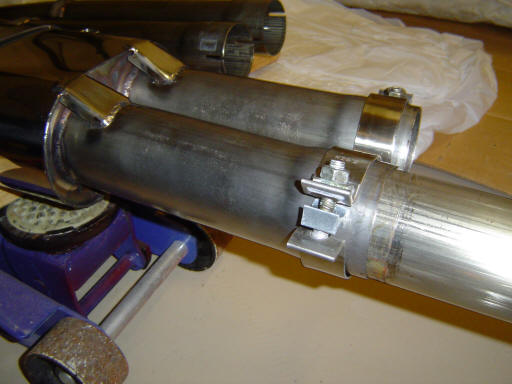
18. Reinstall the slip-joint clamps onto the resonator.
19. Install the front pipes into the resonator. For this install, the front pipes were pushed into the resonator until the lines left from the x-pipe were lined up with the front of the resonator. OPTIONAL - Double check the over-all length which should be the same 87" measured in step 13.
20. Balance the resonator and front pipes on the floor jack.
21. Roll the assembly under the car and line up with the header pipes coming off the engine.
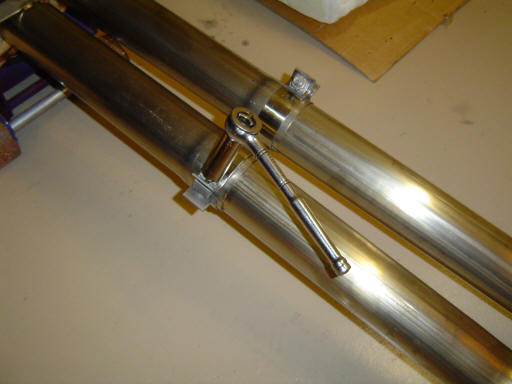
22. Connect the front pipes up to the factory header pipes. Start the nuts by hand only at this time, do not tighten. On this installation, one can see the 5/16" x 2" stainless steel bolt that was used as a temporary stud to replace the one damaged in step 5.
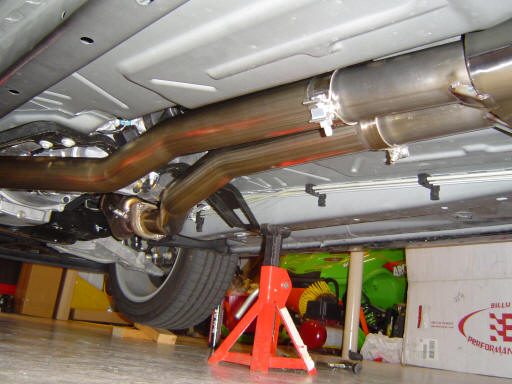
23. Raise the floor jack and align the flanged joint at the rear.
24. Line up the muffler pipes with the resonator. Place paper gaskets between the flanges and install the two nuts and bolts in each. Snug each side of the flange up evenly and tighten.
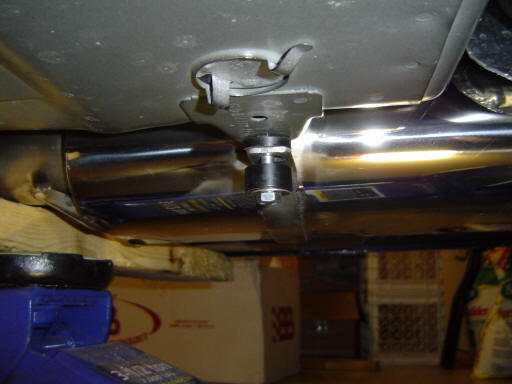
25. Install the B&B supplied bushings (two thick & two thin) and bolts into the center support and tighten. Note: The thinner of the two bushings is on top.
26. Tighten the four front exhaust flange nuts.
27. Tighten the clamps at the slip-joint connection of the resonator and front pipes.
28. Double check that all fasteners are tight and there are no clearance issues with any components. Before starting the engine, wipe down all surfaces of the exhaust - mufflers, tips, pipes to prevent blemishes and fingerprints from being burned in, discoloring the surface of the stainless. For this installation, a microfiber towel and Zaino Z6 was used.
|
||||
|
This area is intended for Tech Tips submitted by members of LincolnvsCadillac.com. The opinions expressed here are the opinions of the individual author and do not necessarily represent the views of LincolnvsCadillac.com. Undertake these procedures at your own risk. If you have any comments or questions please contact the individual authors. Reader assumes all the risk associated with the installation of aftermarket products. LincolnvsCadillac.com and its owners are not responsible for any direct or indirect damage to the vehicle, person or persons and the resulting costs incurred from the installation or use of these products. LincolnvsCadillac.com recognizes that "Cadillac" and "Chevrolet" and their respective logos, model names and numbers are registered trademarks of the General Motors Corporation. These and other terms used on this website are used for identification purposes only. Lincolnvscadillac.com is not affiliated in any way with the General Motors Corporation, Cadillac, Chevrolet, Mobil or any other website or company listed herein. |
||||